This is something of a dream commission for me. I’m a big fan of the work of Paolo Maggini and many of my violas in particular are based on his work. He also made a number of violins during his lifetime, some of dimensions which correspond roughly to today’s standard, and some which are rather larger. I’ve met the larger ones on occasion in real life, and have been beguiled by their rich and dark sound; in a quartet they make a wonderful tonal bridge between the brightness of the leader and the alto voice of the viola. Whilst I’ve made a couple of violins based on the standard size, it’s wonderful to be asked to make a violin on the larger pattern, and even more so as it’s for the principal second violin of the Madison Symphony Orchestra in Wisconsin, where I hope its distinctive voice will fit perfectly.
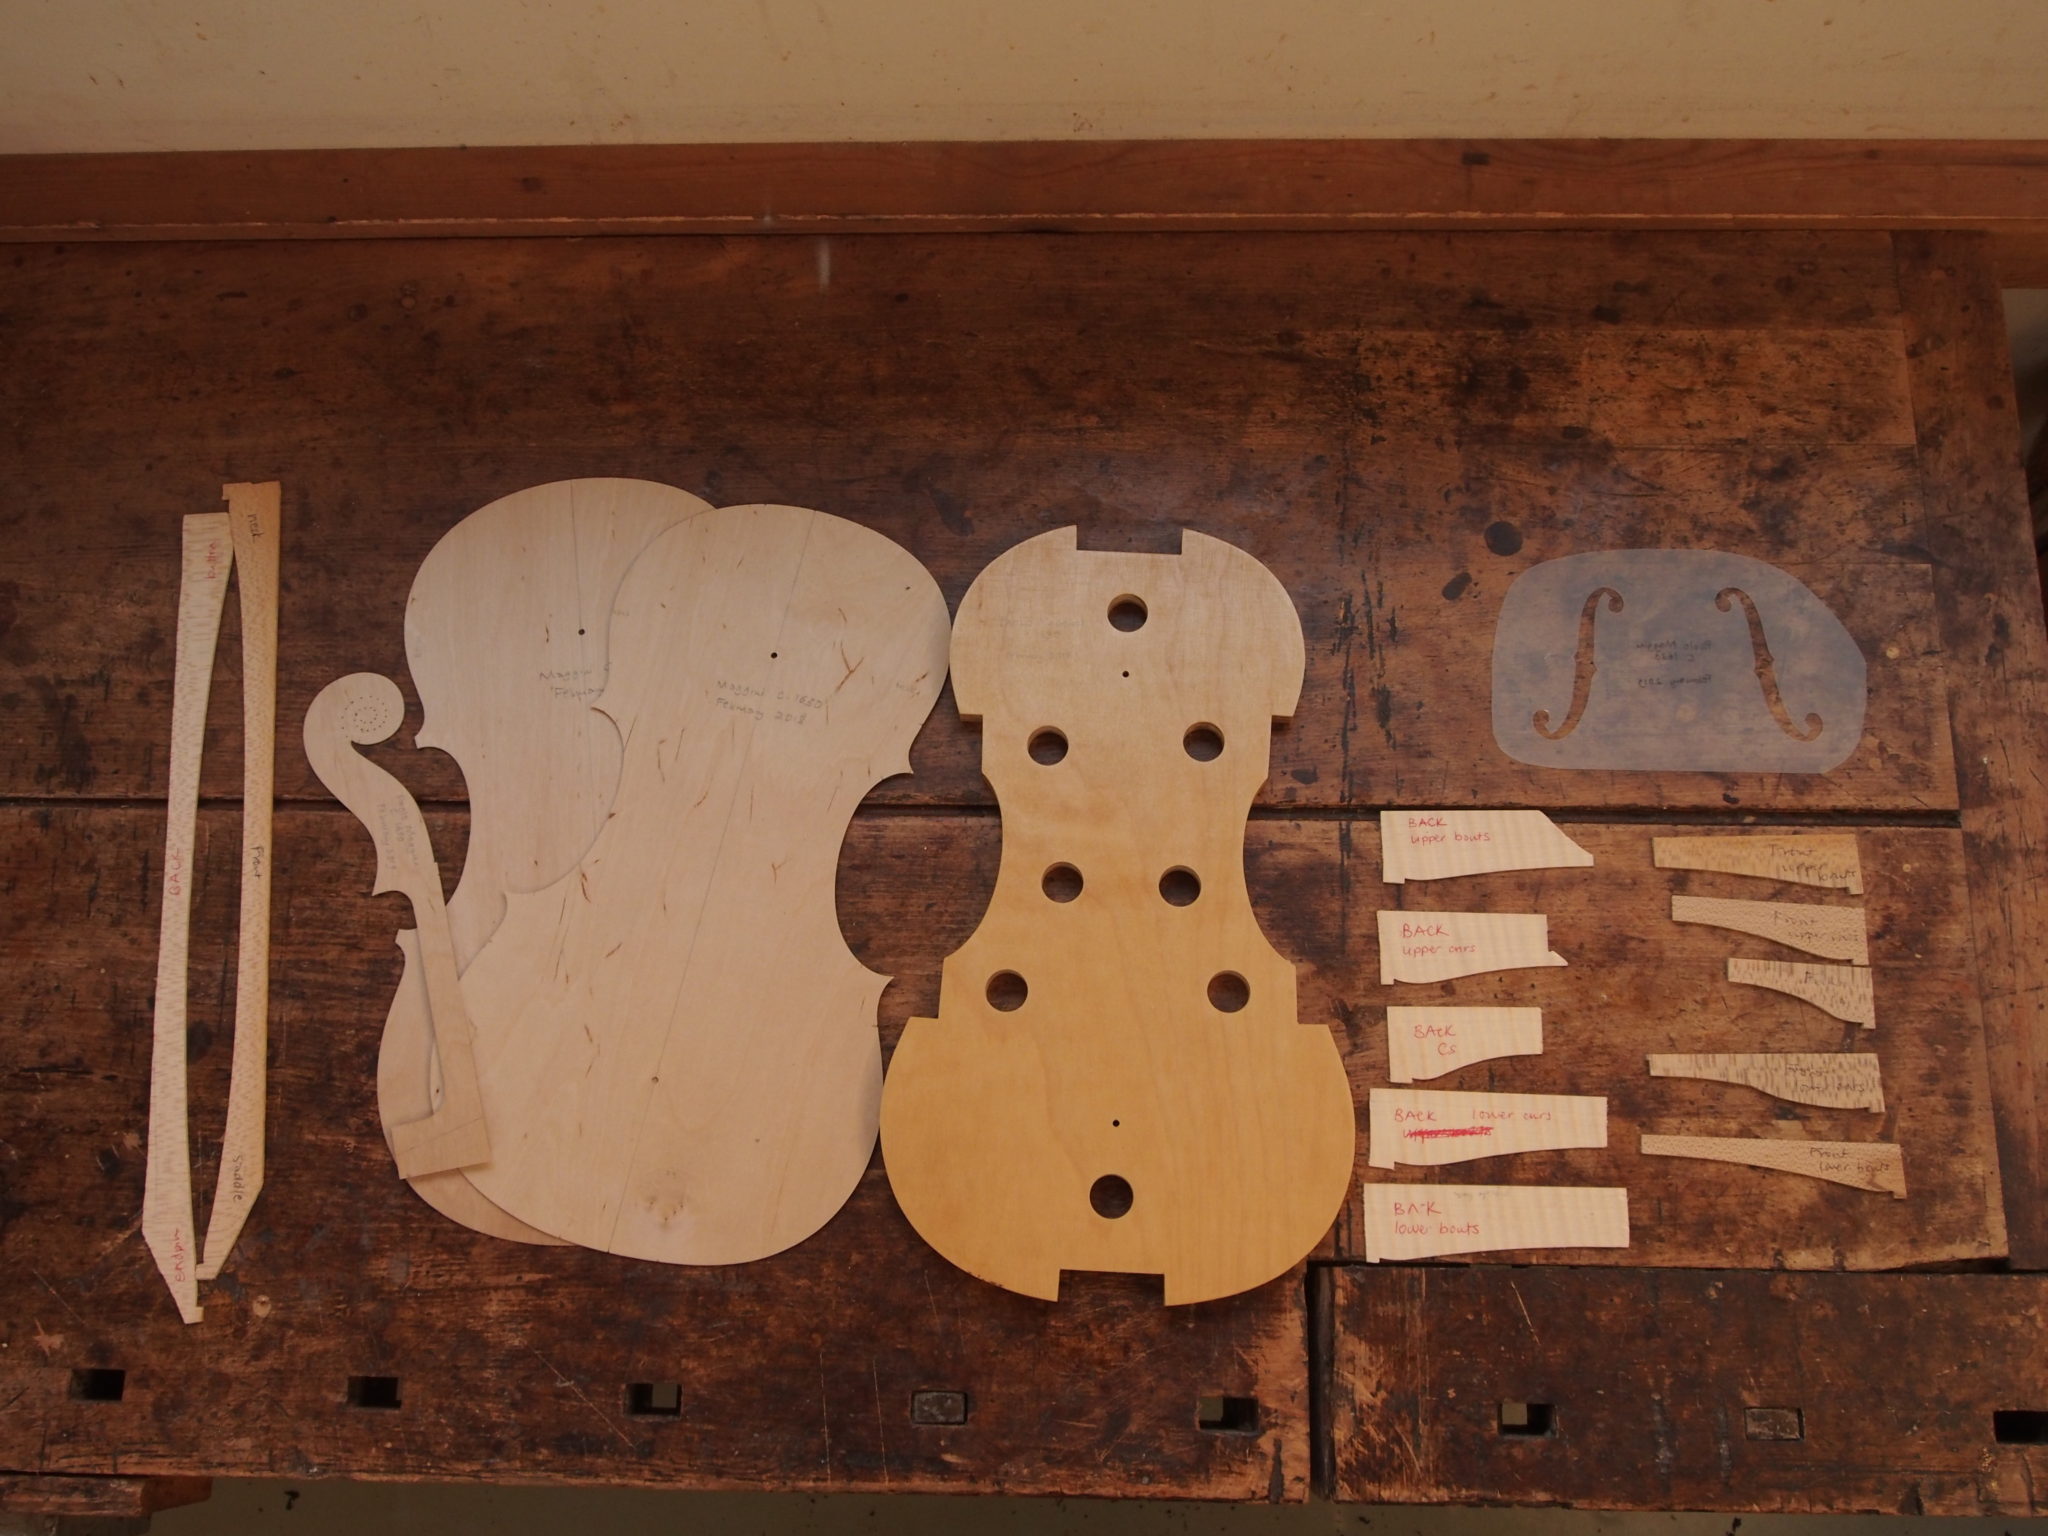
The model we’ve picked is from 1630, quite late in Paolo Maggini’s life, when he had become slightly influenced by the work of the early Cremonese makers. I’ve started by making all the templates and the mould.
Xavier, my customer, was interested in using old wood so I was happy to oblige. This is wood which comes indirectly from one of my teachers from the distant past when I was a violin making student; he also ran a wood business. The one-piece back is a nice piece of maple with a regular but not-too prominent figure which will balance well with the decorative purfling that is to come. It has a good grain structure and is light in weight. I’m able to saw a wedge off it which I will cut up to make the ribs, so that they are a perfect match. The front is old spruce from a log that has been split rather than sawn, so the grain is really straight and even. My first task has been to bend the ribs, shown here glued to the mould with the linings (which will strengthen the eventual joint between the ribs and the back and front) glued in place.


While working on the ribs, I also started the scroll. The wood for this is lovely, a really good grain structure and crisp to carve. The Maggini scrolls are quirky, the spirals undercut looking like an unravelling parchment scroll, and this one is really slender at the back, an unexpected touch of elegance.


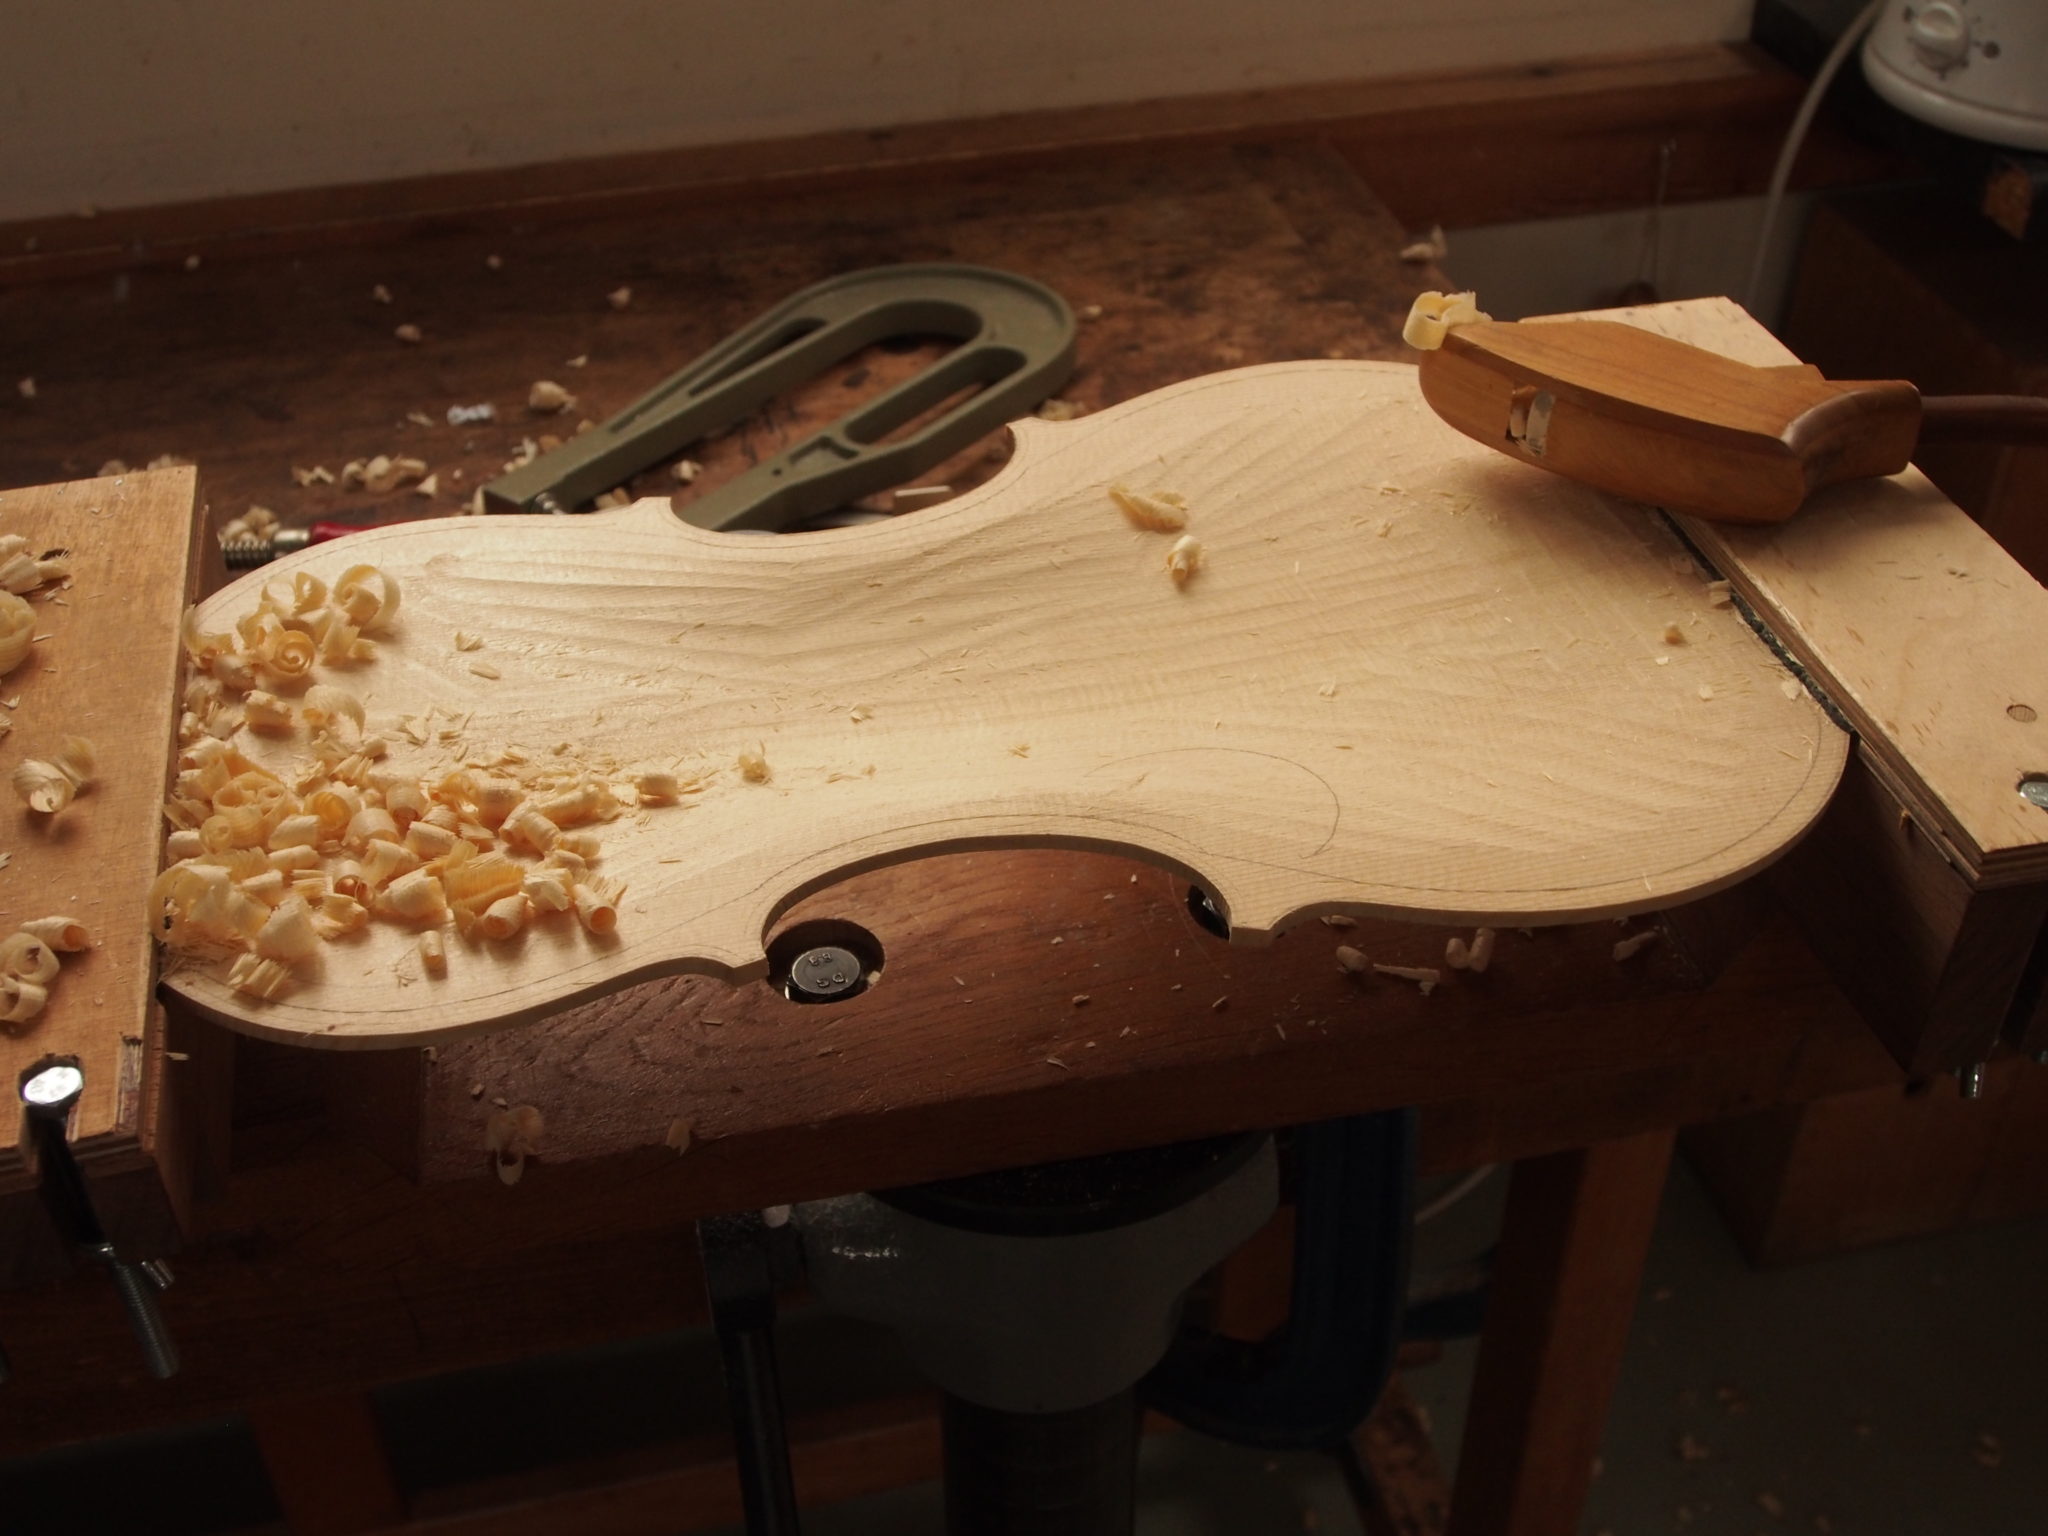
With the ribs finished, I’m able to start work on the back and front. I’ve marked the outline with an even margin from the ribs, cut out the wood and roughed the arching to shape.

Most Maggini violins have decorative purfling, and this one is no exception. It’s a process I really enjoy. Bending and fitting the little pieces of purfling is calm and meditative, the ideal antidote to a busy life. For this violin I’ve made the purfling up from pear wood dyed black and spindle wood. I cut the channels, take out the waste wood and then bend and fit the purfling before gluing it in place.


And with all the purfling glued in, I’ve been able to finalise the arching.

After the arching I can turn over the plates and work on the thicknessing. This is a critical aspect of the sound of the finished violin; you need to find the right balance of weight, flexibility and the sound the wood makes when tapped, taking into account the shape of the arching. Experience is most helpful here.
With the thicknessing done, I’ve cut the f-holes in the front. I really like the characterful and quirky Maggini designs, and the fact that they are not symmetrical. In fact, I made a template which reflects the two different holes that sit on the same instrument. After that, I fitted the bass bar and then took the ribs off the mould and finished the internal surfaces, so all is ready to assemble the body.


The first shot shows everything ready to glue the front, and then the body finished with the fingerboard glued to the neck; everything prepared for neck fitting.


The violin is now finished ‘in the white’; I’ve fitted and shaped the neck and finished all the work on the body. The next stage is to give the wood some colour and then to varnish it.


At last, it’s finished. I’ve used a reddy-brown oil varnish over a golden ground, and ‘antiqued’ the finish with some wear, scratches and patina so that it doesn’t look shiny new. Can’t wait to hear it properly now.


Xavier played the violin for a concert including the Bach double violin concerto in November 2020. You can watch it here:
